This article will help you to install the latest Webmin on Ubuntu 19.10, 18.04 & 16.04 LTS systems. This article is using APT to install Webmin, you may also download Webmin packages directly and install in system.
Step 1 – Configure APT Repository
To install or update Webmin in Ubuntu systems using APT, Edit /etc/apt/sources.list.d/webmin.list file on your system and add the following lines at the end of the file. This repository contains all required packages for Webmin installation. Add below value to this file: After that, import the GPG key by which the above-added repository is signed using the following command.
Step 2 – Install Webmin on Ubuntu
Let’s use the following command to install webmin in our system. Webmin is by default installed in /usr/share/webmin.
Step 3 – Access Webmin
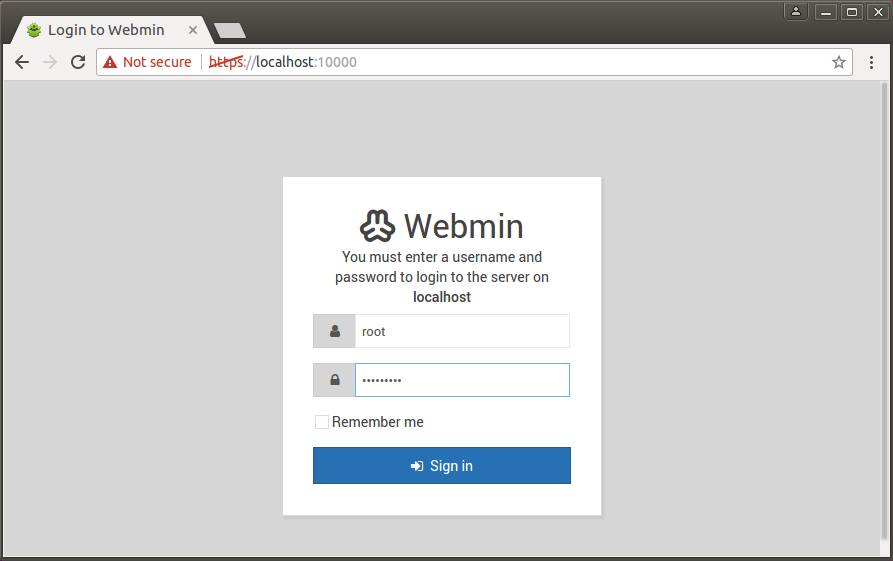
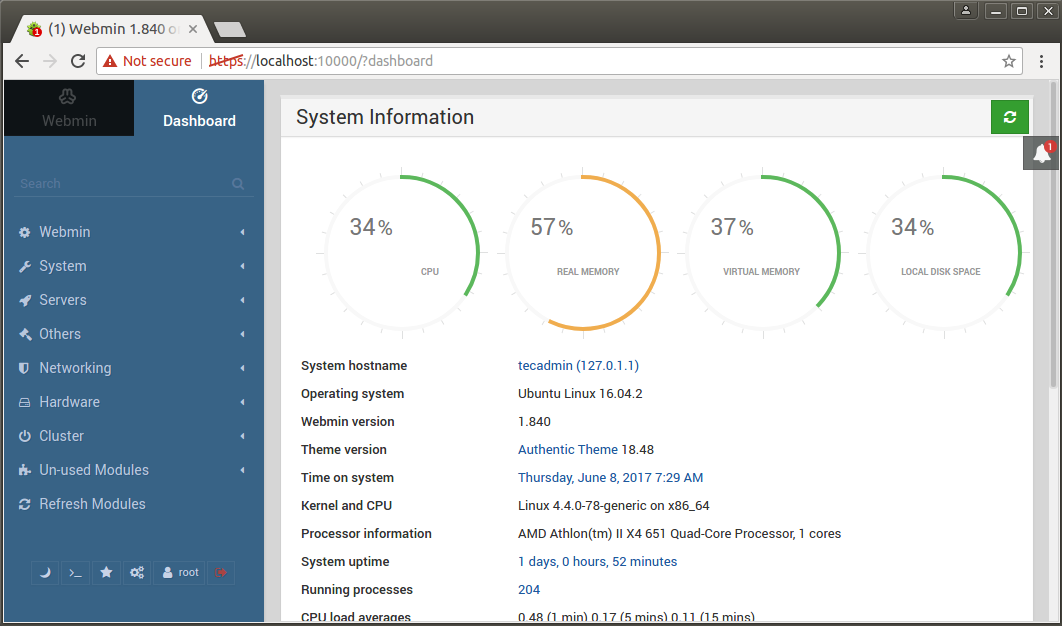
Webmin by default run on port 10000, we can simply access Webmin by accessing our server on port 10000 in a web browser. It will ask for user credentials. Use your system user or root login with the password to access Webmin. To access Webmin remotely, replace localhost with your system’s IP address or hostname. https://server-ip:10000/
Congratulation’s you have successfully installed webmin in your Dabian based system. To install webmin in CentOS/RHEL systems use next article Install Webmin on CentOS & RedHat.
Reset Webmin root Password in Ubuntu
If you forgot the Webmin root password or password is not working in any case. You can simply use the following command to reset the Webmin root account password.


